Previous: Adding an SSL Certificate from HostGator
So now, you should have your domain, hosting, and WordPress installed. Now it’s time make your travel blog look fancier. Let’s find a WordPress theme from ThemeForest and install it. First, head on over to WordPress section of ThemeForest. There are plenty of options available, so take some time to browse through and find one you like.
- After you have found one you like, add it to your cart, create an account, and checkout
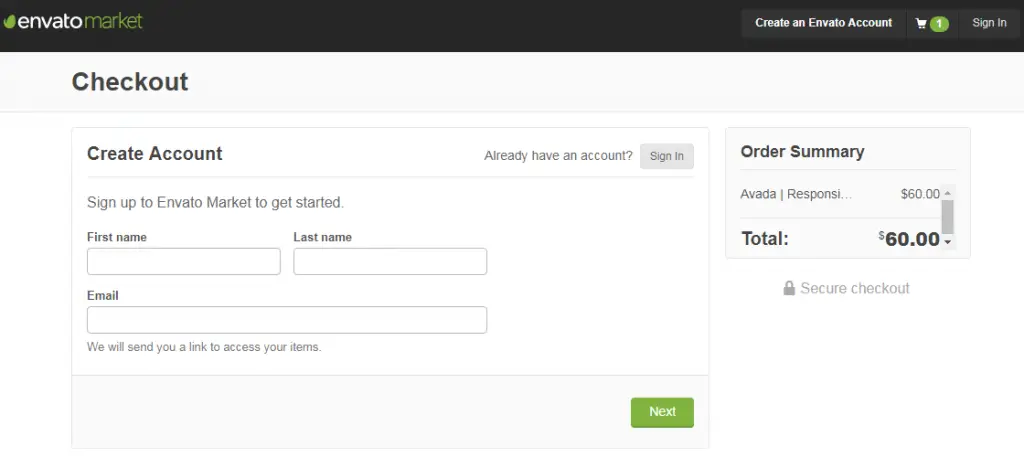
- When you’ve completed the purchase, you will find your new theme available in the Downloads section
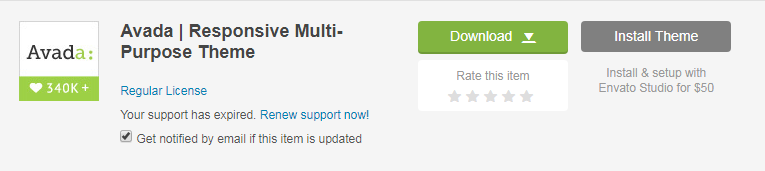
- Click Download
- Click All Files and Documentation – This will begin downloading your theme
- Next, extract/unzip the folder you just downloaded
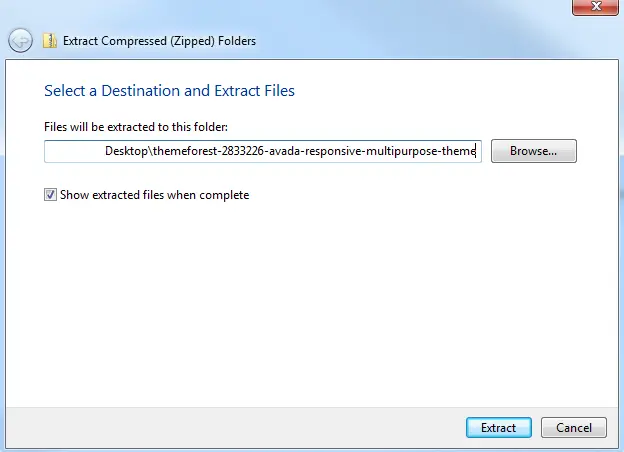
*This process can vary if you’re on a PC or a Mac.
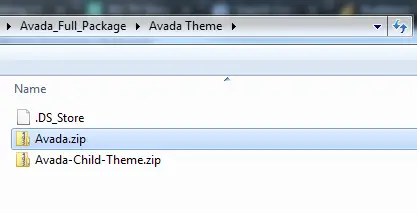
Now that you have the theme downloaded and unzipped, you will have a folder that has quite a few different things in it, more or fewer things depending on the theme and the developer. To install the theme, we need to upload the theme’s .zip file. I’m using the Avada WordPress theme as an example. For Avada, you can find the needed Avada.zip in Avada_Full_Package > Avada Theme > Avada.zip
- In your blog’s admin panel, hover over Appearance and click on Themes
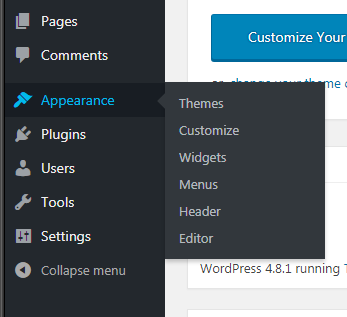
- Click Add New at the top
- Click Upload Theme

- Navigate to the .zip theme file we located above (the Avada Theme in my example, Avada_Full_Package > Avada Theme > Avada.zip)
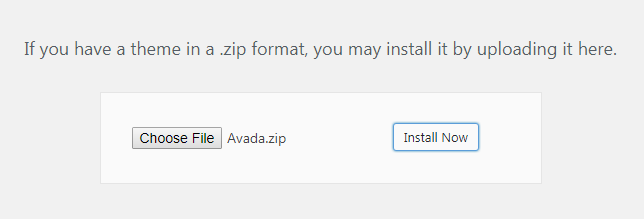
- Click Install Now
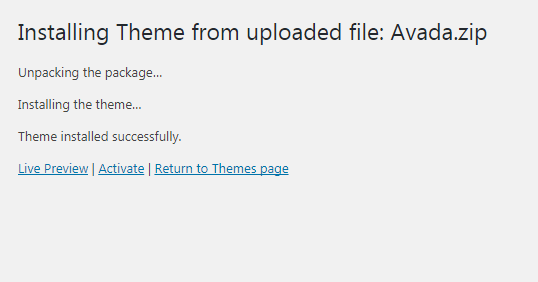
After the theme has finished installing, you will have the option to Live Preview, Activate, or Return to Themes Page.
- Click Activate – *Note: If you have an existing blog with posts and a theme already installed, clicking Activate will update your theme, but your travel blog will probably look weird until you go through and configure the settings of your new theme.
Your theme is now installed and active! You can go to your URL and see what it looks like.
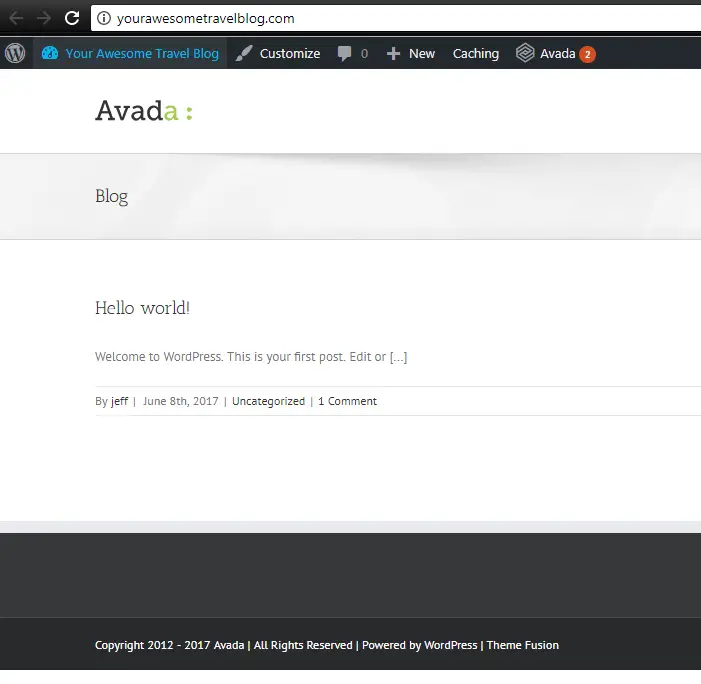
Probably not the perfect blog you had in mind or what it looked like on ThemeForest, right? That’s because right now, the theme hasn’t been configured for your specific blog. Remember when we downloaded the theme from ThemeForest, we selected All Files and Documentation?
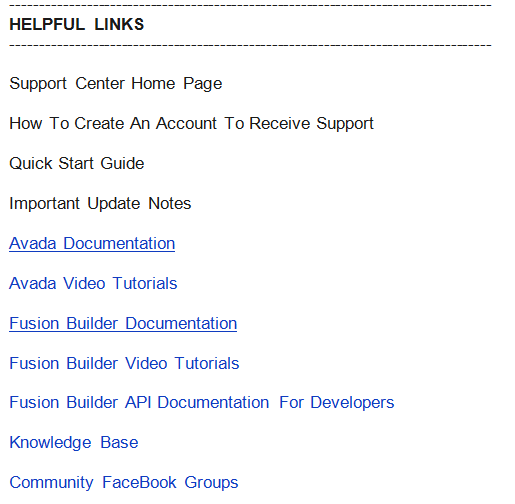
Open your theme folder back up. Most will have a document called Read Me, or Read Me First, or just called Documentation. In the Avada Theme, in the Read Me First document, they have a bunch of links. These links are to the theme documentation, even video tutorials!
This is unfortunately as far as I can take you in setting up your theme. All themes are a little bit different and if I outlined how to setup a WordPress travel blog theme, it would only work for that specific theme. The information would be useless to anyone with a different theme.
A Few Theme Setup Tips
*These may or may not apply to you all themes, but will be helpful for a good number of themes I’ve used on various websites over the years.
- Some themes have setup wizards to take you through the setup. Most themes will have a Theme Options section that will take you through setting up your travel blog. Theme Options is commonly found in the left menu. Some themes will create a new option with the name of the theme, others will put it under Appearance > Theme Options.
- Don’t confuse Theme Options with Customize Theme. The Customize Theme area will usually let you edit a few things, but the Theme Options area is where you really want to dive into.
- The theme documentation should get you through everything you need. If you get stuck somewhere and can’t find anything on Google, hit up the theme creator’s support.
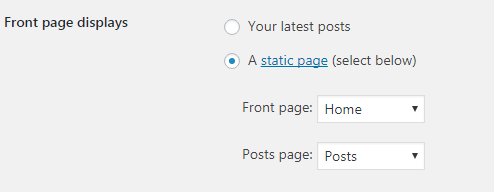
- Depending on how you want your blog, you’ll probably need to setup a Homepage and a Blog page and identify them in the reading options (some themes are good explaining if/when you need to do this, others I’ve seen are not). To do this, create two new pages. One page called Home and one page called Blog or Posts (it doesn’t matter the name).Under Settings, click on Reading. Under Front Page Displays, click A Static Page and set Front Page to Home and Posts Page to Blog, or Posts, or whatever you named it.
- Sometimes it’s easier to start with a blog that’s already setup with posts and other content. The vast majority of themes offer “Demo Content”. You can import this demo content and settings to get your blog setup quickly. You will just need to go through and swap out images and delete pages and posts. If this is something you want to do, consult your theme documentation for the directions.
Next: Installing Google Analytics On Your Travel Blog