Previous: Setting Up Hosting with HostGator
Now that you have a domain name and setup hosting for your travel blog, next, let’s install WordPress.
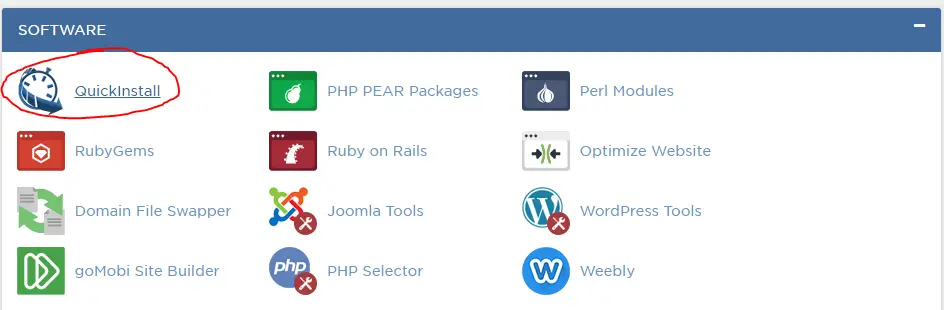
- From your email that HostGator sent you with your account information, click on the Your Control Panel link and login with the username and password that is also in the email.
- Scroll to the bottom. Under Software, click on QuickInstall
- Choose WordPress under Site Builders & CMS
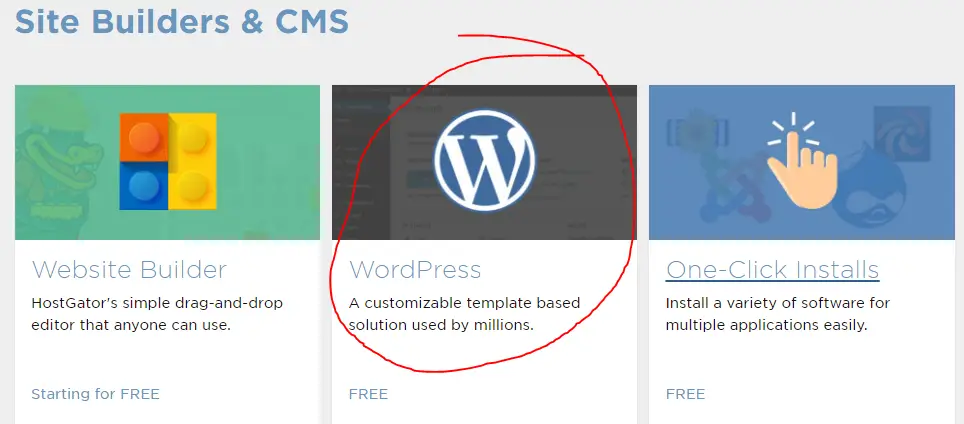
- Choose your domain from the dropdown menu and click Next

- Enter the title of your blog (you can change this later)
- Enter the username you want to use, first name, last name, and email address. (I’ll show you how to setup a custom email address later.)
- Keep “automatically create a new database for installation” checked
- Click Install
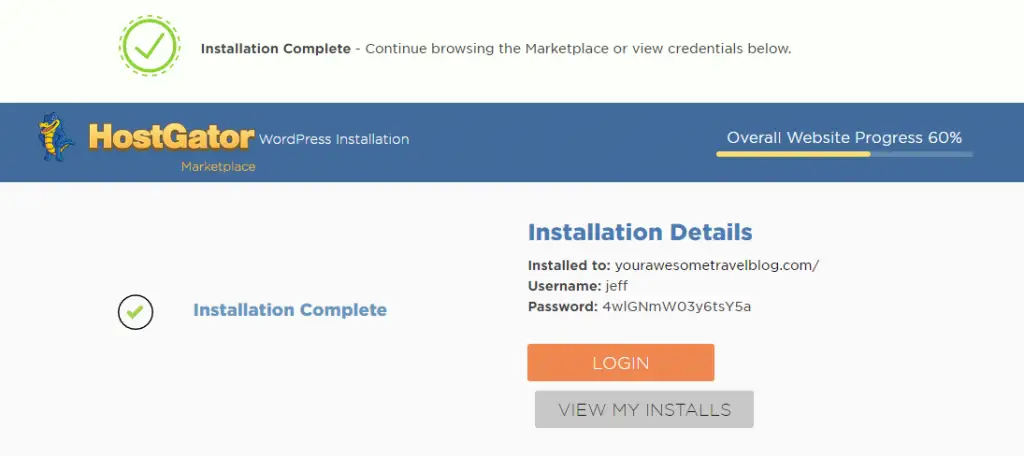
- Save the password that was automatically generated for you!
- Click Login
- Enter your username and the automatically generated password
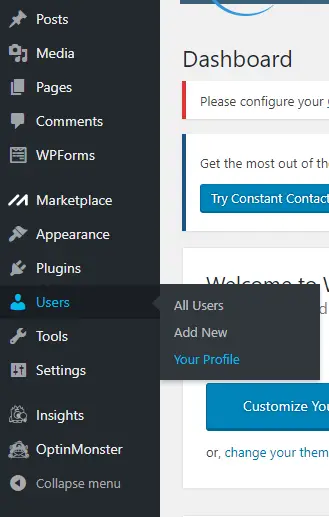
- Let’s change your password to something you can remember. On the left side, hover over Users and click Your Profile
- Scroll to the bottom and click Generate Password. It will now let you input a password of your choosing.
- Click Update Profile
Optional: Personally, when I install a fresh version of WordPress, I like to clear out all of the pre-installed plugins. If you delete one you end up wanting later, it’s easy to re-install it, but, hosting companies typically like to pack stuff in that you won’t want or need.
- On the left, click on Plugins
- Get rid of everything that isn’t “Akismet Anti-Spam (you may have to deactivate a plugin before you can delete it)
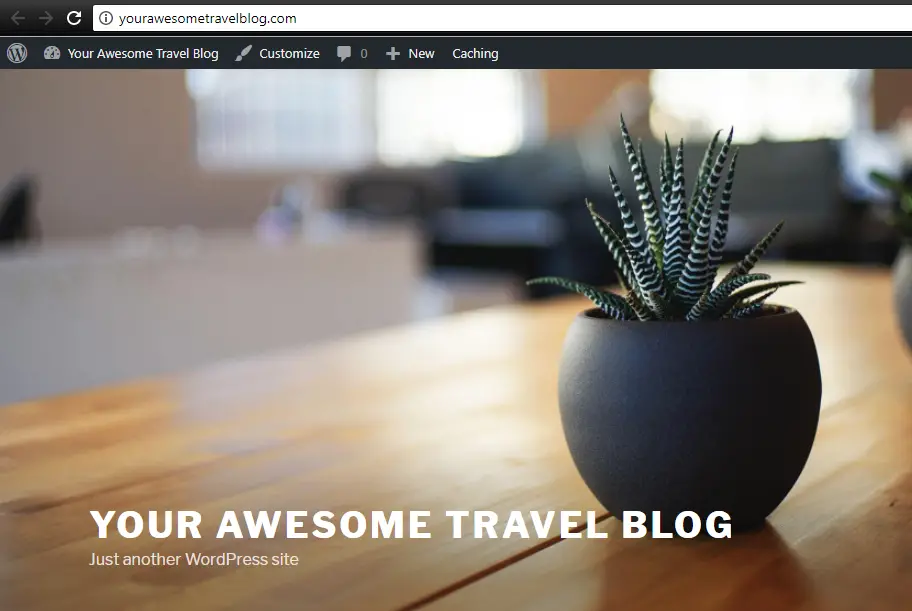
You did it! Put your URL in your browser and you should see your brand new travel blog, ready for you to make it yours.