
updated on May 6th, 2018
Previous: Installing a Theme from ThemeForest
Ok, first things first, you’re going to need a Google account for this. I assume you already have one, but if not, head on over and create one.
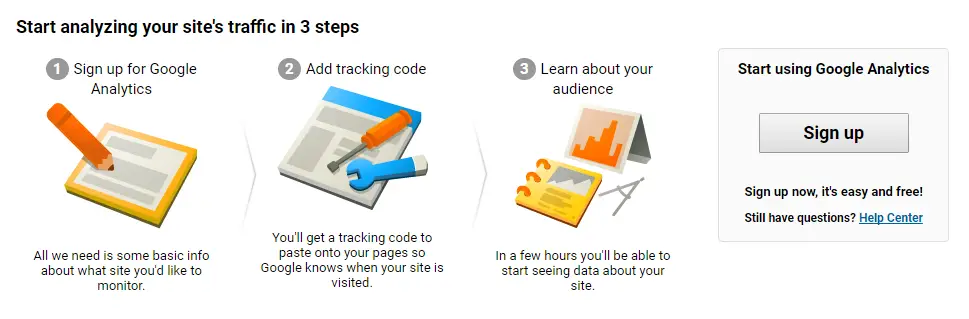
- Click Sign Up
- Fill out the New Account information
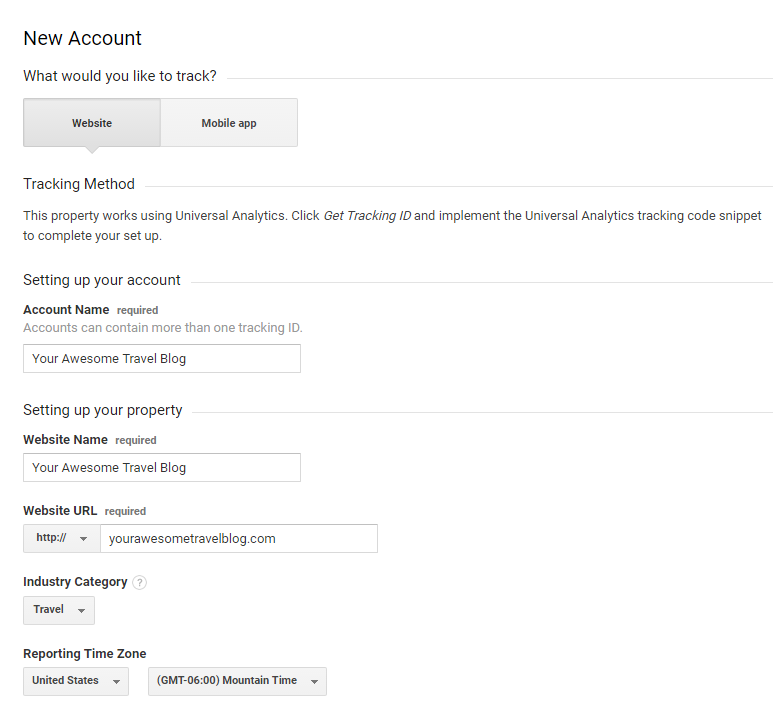
- What would you like to track – Website
- Account Name – Can be your name or the name of your travel blog
- Website Name – The name of your travel blog
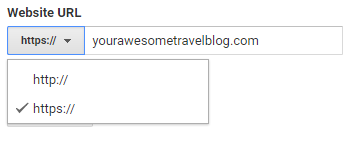
- Website URL – Your domain name
*If you already have an SSL for your travel blog, be sure to select https://

- Industry Category – Travel or Other
- Reporting Time Zone – Your time zone
- Data Sharing Settings – These are up to you. I personally keep them all checked.
- Click Get Tracking ID
- Accept Terms of Service
Google Analytics will now provide you with a Tracking ID and a code snippet you can use to install Analytics on your travel blog. We are going to use the Google Analytics for WordPress by MonsterInsights plugin to handle the rest of our Analytics installation. If you already have it installed, great! Go ahead and skip below. If not, keep following along
- In the backend of your blog, hover over Plugins and click Add New
- Search for “MonsterInsights”
- Click the Install Now button

- Click Activate
After the plugin is activated, it will take you to your Plugin dashboard.
- Under the Google Analytics for WordPress by MonsterInsights plugin, click on Settings

- Click Authenticate with your Google Account
- On the 2nd step, click the button Click To Get Google Code

- Accept and grant the permissions
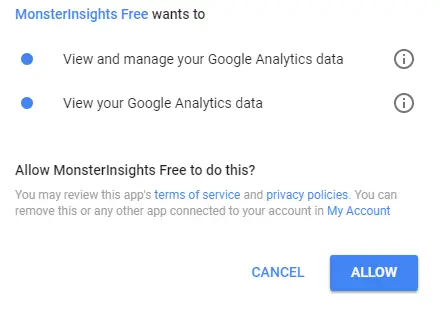
- On the next page, copy the code that it gives you
- Paste that code back in the MonsterInsights form
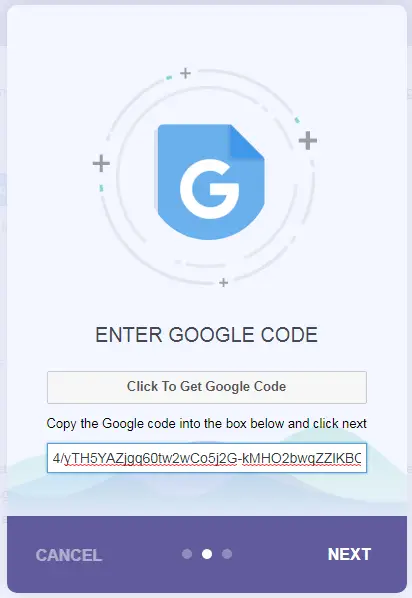
- Click Next
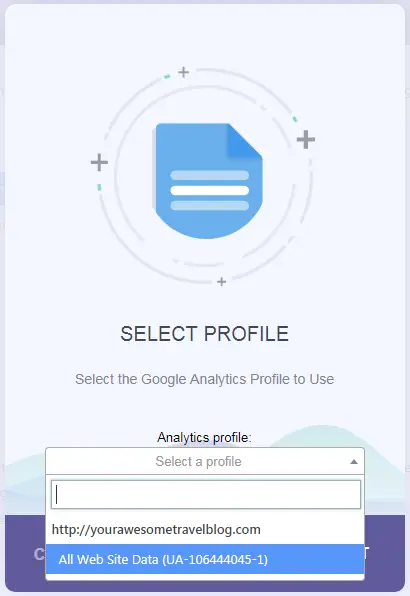
- From the drop-down, select your travel blog’s analytics’ profile
You did it! Google Analytics is now setup on your travel blog. We can test this by doing two things. In one tab, open up your travel blog. In another tab, go back to Google Analytics.
- In Analytics, on the left side, click on the Clock icon for Real-Time and click on Overview
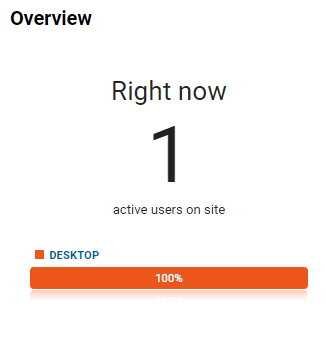
You should see one active visitor on site. If you don’t, give it a few hours. Some analytics installs seems to be instantaneous while a few other’s I’ve done have taken a few hours to start reporting real-time visitors.
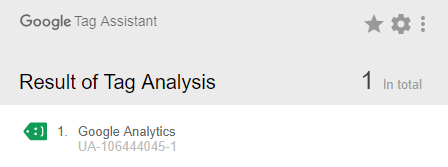
*If you’re impatient and what to know if Google Analytics is installed correctly and firing, you can get the Google Tag Assistant extension for the Chrome web browser. Once installed and enabled for your tab, you should see Google Analytics is installed correctly.
Thank you so much for this helpful post! I just installed it and while it hasn’t updated yet I’ll make sure to wait it out for a couple hours. Thank you so much for putting this together!