Previous: How to Register a Domain with GoDaddy
Now that you registered a domain for your travel blog, it’s time to get hosting. While your domain acts as the name people type in to get to your blog, hosting is the server space that will store all your posts and images.
First, head over to HostGator
- Pick a package and sign up for hosting at HostGator.
- Note: The monthly pricing goes up a fair bit if you’re paying month to month.
- If you’re planning on adding an SSL certificate to your HostGator travel blog, you will have to select the Baby Plan or above. The Hatchling Plan does not support SSL.
- When checking out, select “I Already Own This Domain” and enter in the domain name you purchased previously.

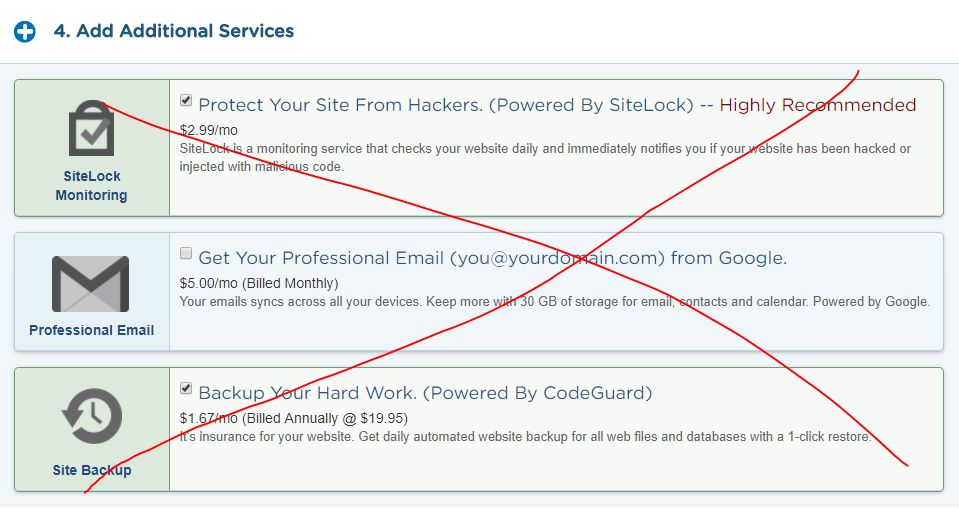
- Later, don’t select any of the additional services they offer, you don’t need them.
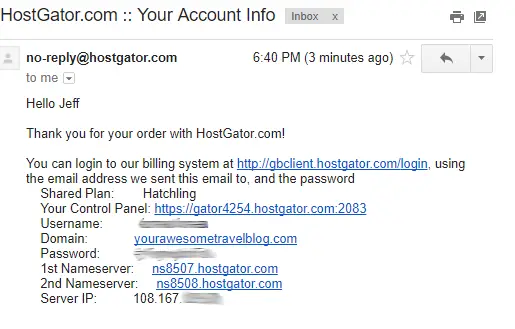
- After you have completed signing up, you will receive and email with your account information. Save this.
Pointing your GoDaddy domain to your HostGator hosting account
At this point, we’ve registered a domain and signed up for hosting. We now have two of the main pieces you will need to for your travel blog and all we have to do now is set your DNS and point your domain to your HostGator hosting.
- Log into GoDaddy. You should see your domain listed under Domains.
- Click on DNS

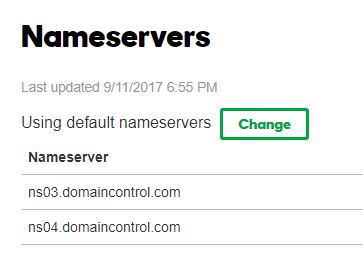
- Scroll down to Nameservers and click on Change

- Select Custom from the dropdown
- Enter the two nameservers that were in your email from HostGator
- Click Save
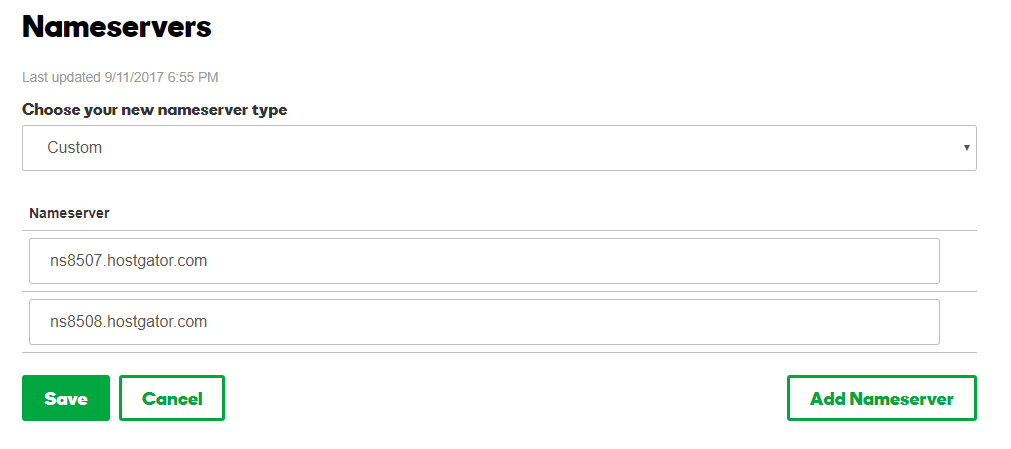
You have now set the nameservers for your domain. You’ll probably be able to see your domain working now by entering your URL into your browser. If not, don’t worry, it can take some time for your DNS to propagate (process).
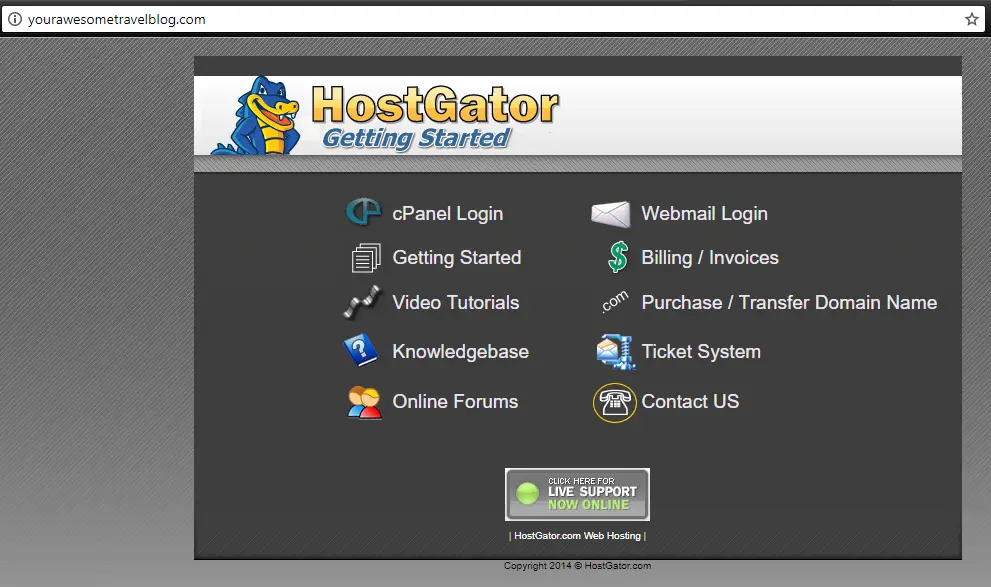
You did it! You now have a domain and hosting setup up.
Next: Install WordPress on HostGator For Your Travel Blog

