updated on May 6th, 2018
Previous: Install WordPress on HostGator
Whether you have read about the SEO value of having an SSL certificate or want to provide your travel blog visitors additional security when they browse your website, or both, let’s go through how to add one to your HostGator website.
- First, go to HostGator Customer Portal and login to your billing account https://portal.hostgator.com
- Click on Hosting and then SSL Certificates

- Unless you plan on selling a lot of products on your travel blog, the cheapest option will do just fine. Their cheapest SSL is currently called “Protection & Google Ranking”
- Choose the one, two, or three year option and click Buy Now!
- Fill out the Certificate information
- Choose your preferred Certificate Verification Method, the easiest for you will be DNS CNAME.

- DNS CNAME – This sounds intimidating, but is actually done by HostGator support, so there is nothing required by you.
- Email – This is straight forward, but requires you to have one of these email addresses:
- [email protected]
- [email protected]
- [email protected]
- [email protected]
- [email protected]|
If you already have one of these, feel free to choose this method. If you are using GSuite for your travel blog email, it just doesn’t make sense to pay another $5 to create one of the above email addresses just for verification.
- HTTP – This is done by downloading an activation file and uploading it to the root directory of your website
- Agree to the subscriber agreement and click Pay Now!
Your HostGator account should now show your SSL Certificate as Pending.

It can take HostGator Support 24 hours to install the certificate, but I’ve seen them complete the installation in under an hour. At this point, I would recommend using HostGator’s live chat https://chat.hostgator.com/ and request that they create a support ticket for you so you will be notified when your SSL certificate has been installed.
After your SSL certificate has been installed on your travel blog by HostGator

Now that you have an SSL installed, we’ll want to make sure that it is being used when visitors access your travel blog. To do this, we’re going to use a plugin to force HTTPS via a 301 redirect. If you want to know more about what that actually means, see below.
- Go to your WordPress dashboard
- Go to Plugins > Add New
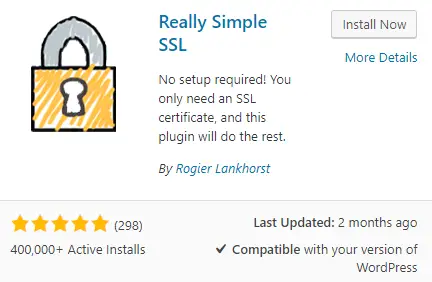
- Search for “Really Simple SSL

- Click Install Now and Activate
You should know be back at your Plugins page with a notice at the top. Click Go ahead, activate SSL.

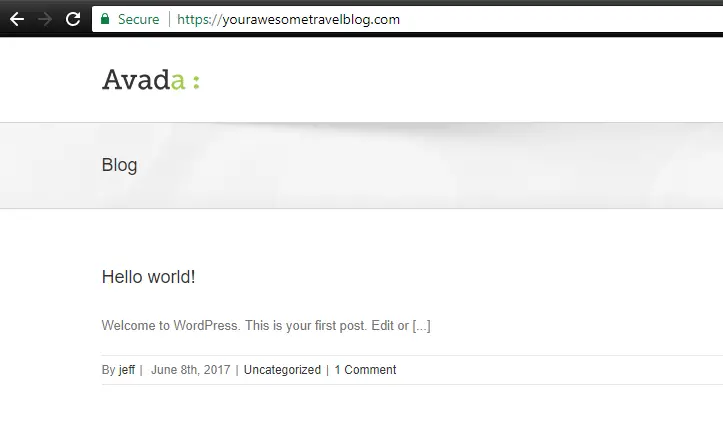
You did it! Now, when you go to your website, you should see that it is now secure.

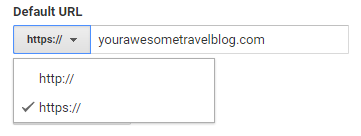
*It’s recommended to update the http version in Google Analytics from http to https. You can do this in Admin > Property Settings. Under default URL, click the dropdown and select https:// and then Save.

If you’ve already added your site to Google Search Console, you’ll want to Add A New Property and use the https:// URL. Google sees http and https as two different things. If you are forcing https but are only tracking http in Search Console, you won’t be getting accurate data.
What does forcing HTTPS and using a 301 redirect for HTTP mean?
- Forcing HTTPS – If a website doesn’t have an SSL certificate, the URL to access it will be http://. Now that you have an SSL certificate, we want to be sure that when someone accesses your website, the SSL is being used and the url shows https://. When forcing HTTPS, even if you try and access your website with http://, the server will your user the https:// version of your website.
- 301 redirect – If your SSL certificate was installed and we did not use a 301 redirect to force the HTTPS version, you could access your website using http://yourawesometravelblog.com and https://yourawesometravelblog.com. While it would seem like it’s just using two different ways to access the same page, Google would see them as two completely different pages. Having two versions of the same page is bad and is considered duplicate content. Google doesn’t like duplicate content and can it cause SEO problems. To make sure this doesn’t happen we use a 301 redirect to send users to the desired version and let Google know that the old version has been permanently moved.

